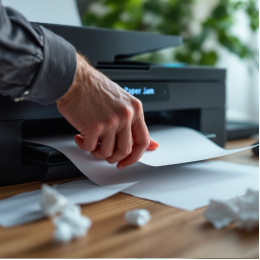
Do-It-Yourself Solutions to Ink and Alignment Issues
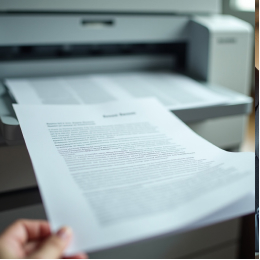
Prints that don't look right, like fuzzy text or missing colours, are usually caused by issues with the ink or the way the pages are laid out. These problems often happen when you need your printer the most, and they can make it hard to see images or read words clearly. The good news? You can fix most ink and spacing issues at home by following a few easy steps. There are no complicated steps or special tools needed to fix your printer and get it running again.
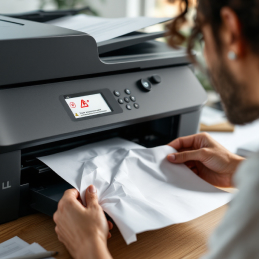
1. Be aware of the signs
Having trouble with the first ink or placement can show up in several ways:
- The text is fuzzy or written twice.
- There are spots, dull, or missing colours.
- Even when cartridges are full, pages come out blank.
- The lines don't line up right.
- Printouts look crooked or uneven.
Figuring out the exact problem helps you use the right answer.
2. Ink Levels and Cartridge Installation
From the very beginning:
- Open the program or control panel for your printer on your computer.
- Find signs that show how much ink or toner is left.
- If a colour cartridge is low on ink or empty, you should get a new one.
- Make sure that every cartridge fits in the right place.
Tip:
Don't roll the ink cylinder around or try to squeeze out the last bit of ink; this can hurt the printhead.
3. Check the nozzles and clean them
If there is enough ink, but the quality of the print is bad:
- Go to the maintenance or tools menu on your printer.
- Turn on a Nozzle. Look at the colours to see which ones aren't printed right.
- For blockages or dried ink, use a Printhead Cleaning cycle.
- If you need to, do it again, but don't do it more than two or three times in a row.
This method can fix most streaks or faded spots and make the ink move evenly again.
4. Set the printhead in place
If the lines are off or the text is printed unevenly:
- Find a setting called "Printhead Alignment" in the printer's app or menu.
- To line up the nozzles correctly, follow the steps given.
- The printer may print a test page; make sure the pages are lined up correctly by following the directions.
Aligning text and pictures correctly makes sure they are sharp, clear, and in the right place.
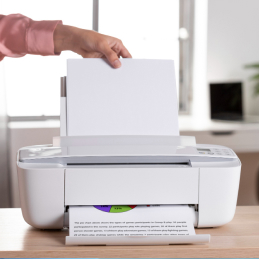
5. Use the Correct Kind of Paper
Paper is more important than you think:
- Don't use cheap or thin paper because it soaks up too much ink.
- Print on the type of paper that your printer tells you to use, like picture paper, plain A4, etc.
- Make sure you print on the right side of the covered paper with an inkjet printer.
Even good ink can look pale or smeared if you use the wrong paper.
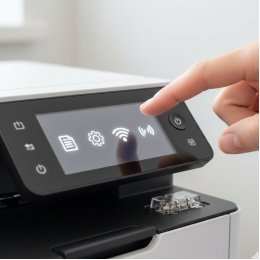
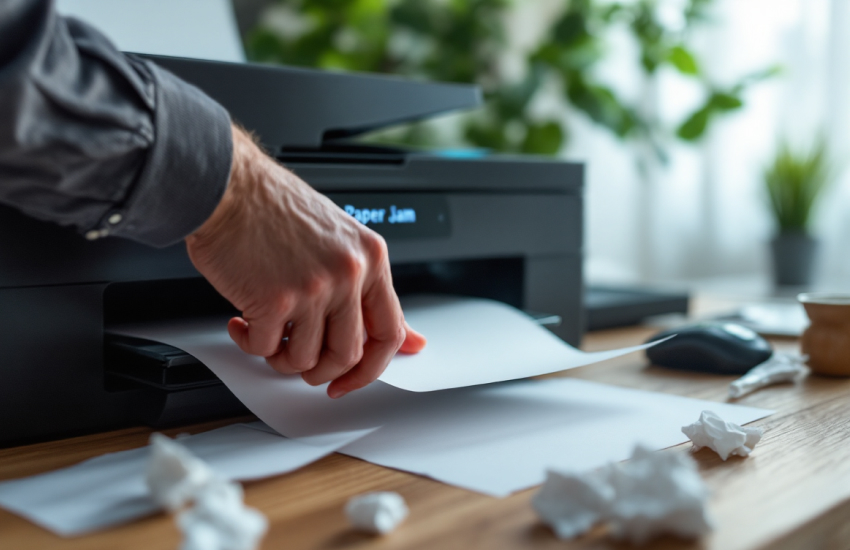
6. Turn the printer off and on again
- Do not use the printer.
- Hold on for 10 to 15 seconds.
- Print a test page after turning it back on.
This fixes any short-term problems and lets your printer reset its processes.
Mistakes to Avoid in Ink & Alignment
- Using outdated or dried-out cartridges
- Ignoring repeated signs about low ink
- Not aligning after changing cartridges
- Touching the printhead or needles while installing the cartridge
- Using ink from a different brand that doesn't work with the printer
- Not printing enough (which can dry out ink)
Tips for the Future to Keep Things Going Well
- Every week, print a test page to keep the ink going.
- Change the ink refills as soon as the quality starts to go down.
- Keep new cartridges cool and standing up.
- Do not unplug your printer to turn it off.
- Clean and adjust tools from the printer's menu should be used regularly.
Trouble with the ink or the positioning may be annoying, but they usually don't last forever. You don't need to call a technician or use complicated tools to get clean, sharp writing back. If you're still not sure how to fix a printer problem at home or at work, feel free to contact us. We'll be happy to help you.